I was home in Provo for two months to take care of Geneva (Office for Human Rights Education) business and personal business. Looking after my 1935 Dodge project falls under the personal business heading. There has been a lot of progress since my last post and I will come to that. But first a setback. Into every street rod project, I’ve learned, a little rain must fall. I got soaked on this one.
After several months of thinking about the fine aircraft seats (see “seating”), I have accepted the fact that these are not going to work for this project. I thought, plotted, schemed, measured and diagrammed, but no way–they will not work.
And I am sad. It goes without saying (almost) that my efforts to diminish my own personal girth did not contribute as much to the solution as I had hoped. The fact of my physical contribution to this problem was, in the end, a happy but insufficient one.
But there is no point in this kind of project to letting discouragement ruin the whole effort. Sometimes you just have to throw a bad recipe and its inedible consequence into the garbage heap and start over.
The problem is that the angle of the back rest is too far back from a straight up 90 degrees. This has the effect of pushing the seat bottom so far forward that I hit the steering wheel, the clutch and brake pedals are unworkable, and so forth. I was stunned, then in denial, then disappointed, and then made a decision to start again with a different idea for the seats. The extraordinary aircraft seats will soon be for sale on eBay and I’ll be posting photos of the new seats in a later blog. But first to some good news.
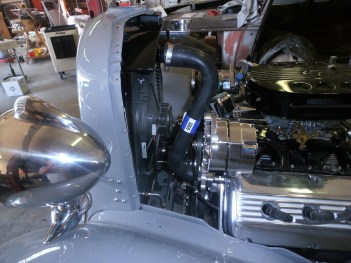
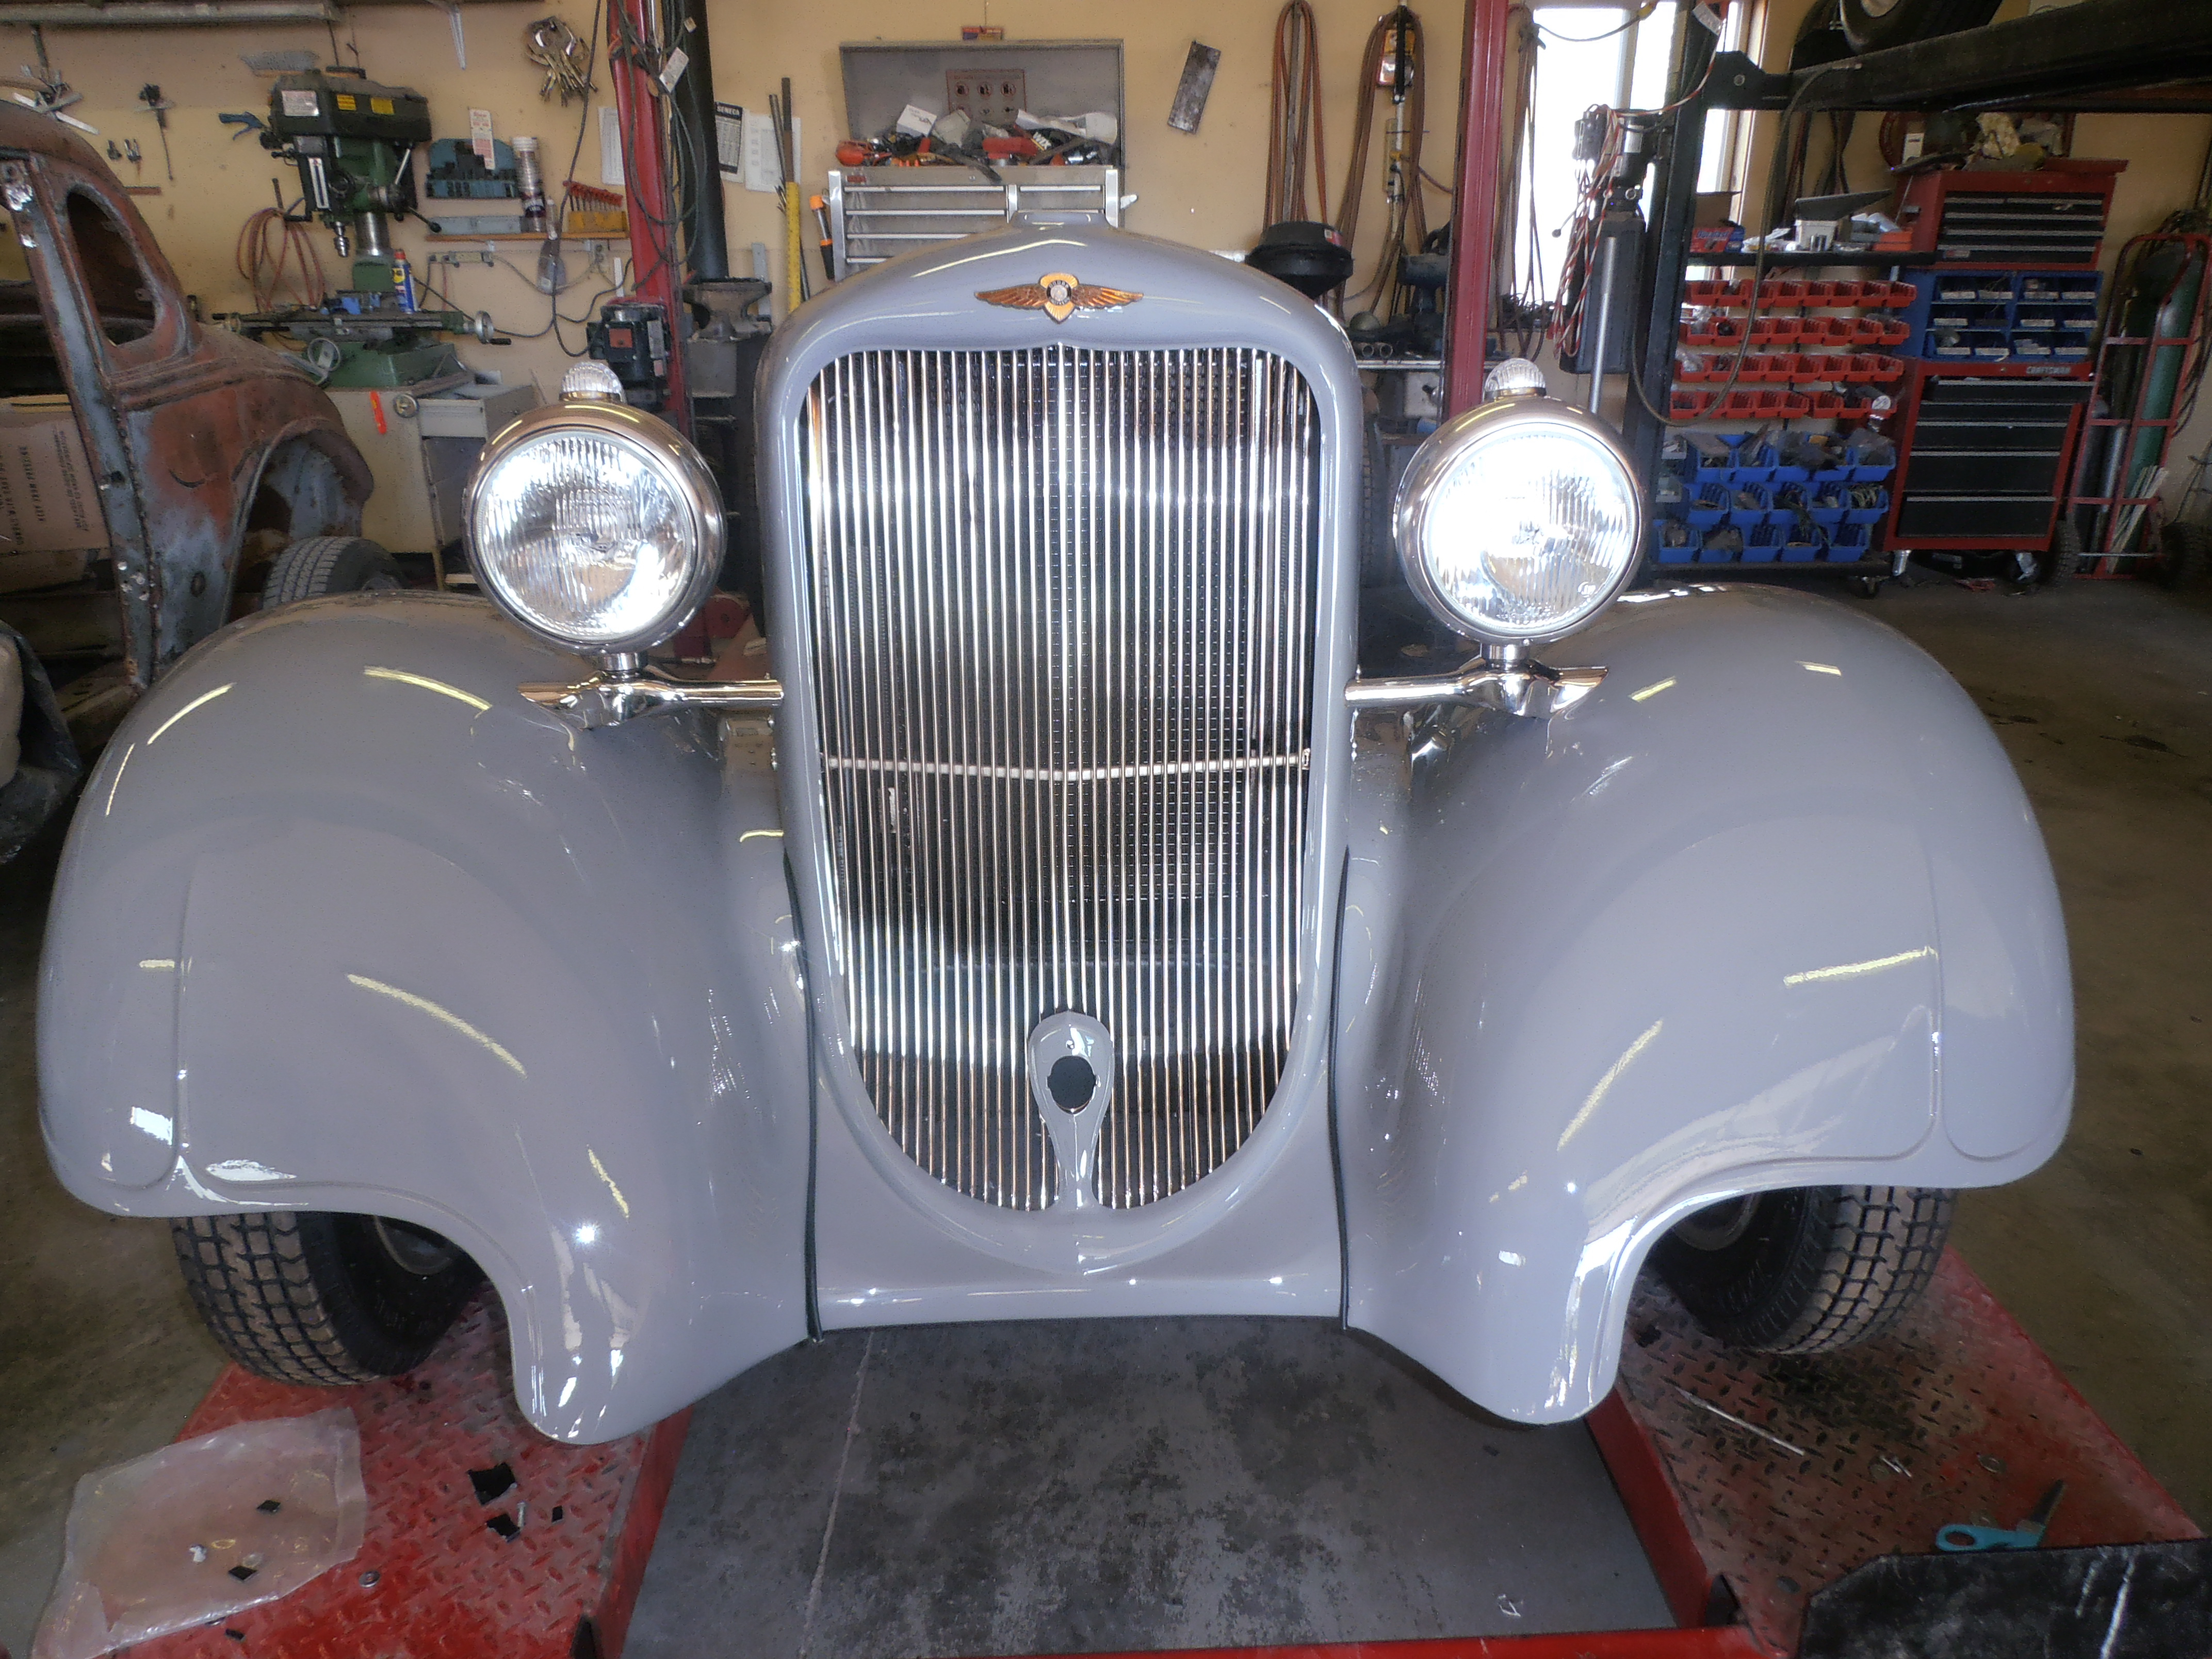
After a great deal of time and almost magical effort, Ralph has managed to squeeze the radiator, fan and shroud into the confines of the 1935 Dodge grille. But this could not be done without first bolting the headlight support to the grille. Then, of course, all had to be attached to the frame support. This is further complicated by the fact that there are two sides and they must both be fastened to the grille before the fenders could be attached to the headlight support bar.
If you are following closely you will notice the addition of the air conditioning compressor and the radiator hoses. The hoses represent the opposite end of the luck spectrum from the seats. We were able to find off-the-shelf hoses that fit perfectly. You may also notice that the engine is sporting new valve covers. The old ones had been powder coated during the rebuild but the color wasn’t right.

You may also have noticed the new body color. Although it gives the appearance of the same as the grey primer that was used in the build to this point, this is a final finish coat without the sanding and clearcoat which will come at a later stage in the process. This is the Audi “Nardo Grey” that I agonized over for a very long time.
I hope you like the grey (or is it “gray”) as much as I do.
The Nardo Grey may seem like a safe choice, and maybe it is. And maybe it is a consequence of having spent so much of my recent life in Switzerland. I guess that 95 percent of all cars on the road here are somewhere between white and black with the majority meeting in what seems to be an endless range of grey shades. But this particular color is unique in two ways. First, it is an Audi color and apparently patented or copyrighted. Other manufacturers use various means to approximate the color. But I ordered this from a paint shop that claimed it was what Audi was using to repair damaged panels of this color. Second, this paint has no metallic flakes and no pearl additives to make it shine or change color under different light conditions.
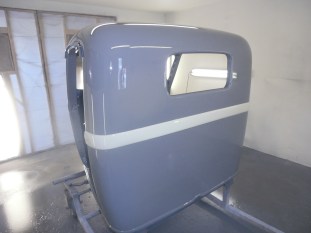
The white stripe is, of course, on the doors and will extend along the lower lip of the hood top. It is a BMW “Mini” color called “Pepper White.” It will also be used inside on the dash and seat.
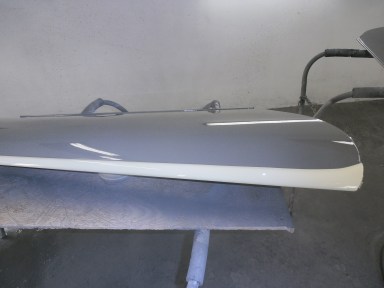
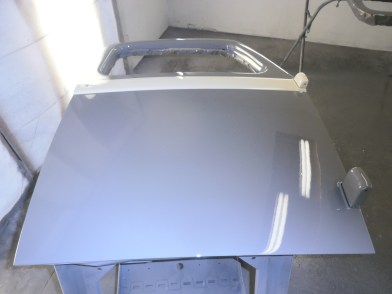
Here is the view of the full hood top. The white stripe continuation is visible here as it makes its way from the door, over the cowl area and ending at the grille.
The door stripe is seen in the final photo and it goes right over the hinge.
The plan is to include to narrow black accent stripes to the top and bottom edges of the white stripe similar to the stripes found on the BMW mini.